Sparkle Together: Fun DIY Christmas Ornaments and Crafts for Kids
Turn holiday prep into a magical family activity with easy, kid‑friendly ornament ideas. From glittery pinecones to personalized felt snowflakes, these crafts will fill your home with cheer and create lasting memories.
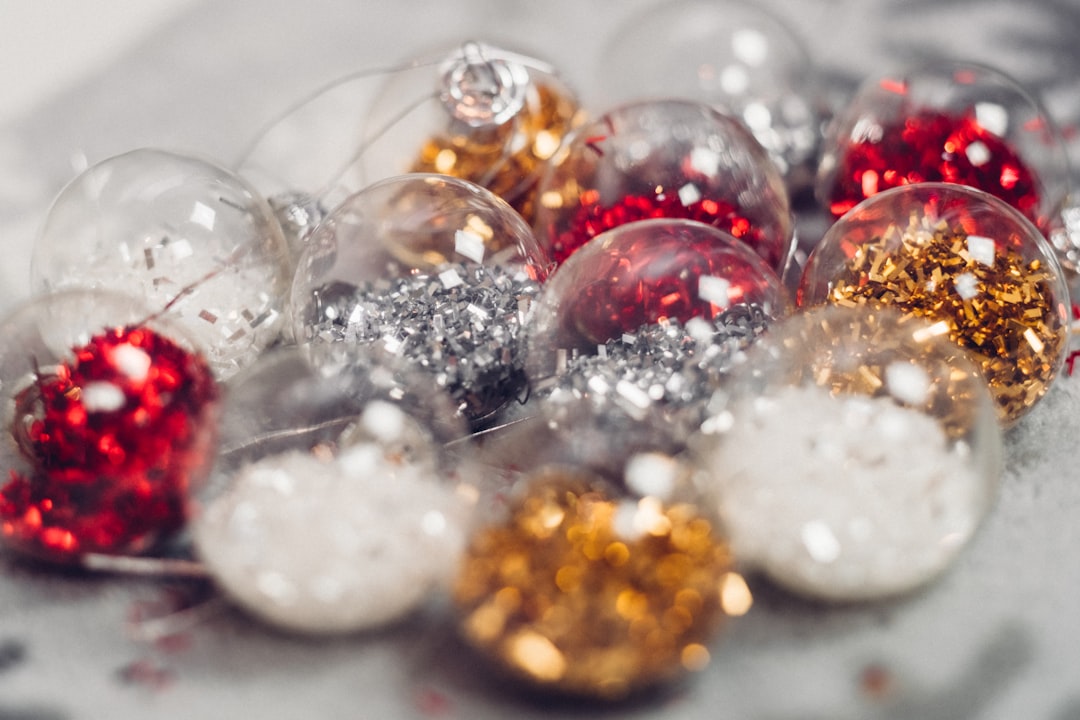
Gather Your Craft Supplies – The Essential Holiday Toolbox
Before the glitter flies, make a quick inventory of the basics you’ll need. Having everything on hand keeps the momentum going and prevents little fingers from wandering off to find missing items.
- Paper and Cardstock: White, red, green, and metallic shades work beautifully for cut‑out shapes.
- Natural Materials: Pinecones, small twigs, dried orange slices, and cinnamon sticks add texture and a festive scent.
- Adhesives: Non‑toxic glue sticks, white school glue, and a hot‑glue gun (use with adult supervision only).
- Decorative Accents: Glitter, sequins, pom‑poms, ribbons, buttons, and washi tape.
- Tools: Child‑safe scissors, hole punch, paintbrushes, and a small hole‑drill or a thick needle for threading ribbons.
- Paints and Markers: Acrylic paints, washable markers, and metallic pens for detailing.
Tip: Set up a dedicated “craft station” on a kitchen table covered with a disposable tablecloth. This contains messes and gives kids a clear workspace.
Ornament Idea #1 – Glitter‑Covered Pinecone Snowballs
Pinecones are nature’s own ornaments, and a little sparkle turns them into winter wonders.
- Prep the Pinecones: Choose pinecones of similar size (about 2‑3 inches tall). Gently shake out any loose needles.
- Apply Glue: Using a brush, spread a thin layer of glue over the entire pinecone.
- Roll in Glitter: While the glue is still wet, roll the pinecone in a shallow tray of glitter. For extra sparkle, use two colors—silver for snow and gold for a warm glow.
- Dry & Hang: Let the pinecones dry on a parchment sheet. Once set, thread a piece of ribbon through the top and tie a knot for hanging.
Parent Tip: Keep a small bowl of water nearby to dampen fingertips; this prevents glitter from sticking to skin.
Ornament Idea #2 – Felt Snowflake Baubles
Felt is soft, forgiving, and perfect for little hands. These snowflakes can be layered for a three‑dimensional effect.
- Cut Snowflake Shapes: Using a snowflake stencil or free‑hand drawing, cut out 2‑3 identical shapes from white felt (about 4‑5 inches across).
- Layer & Glue: Stack the felt pieces, adding a thin layer of glue between each layer. Press gently to avoid wrinkles.
- Embellish: Sprinkle a tiny amount of glitter on the top layer, or attach sequins for a frosty sparkle.
- Attach a Loop: Punch a small hole at the top of the snowflake and thread a piece of yarn or ribbon through it.
Creative Spin: Let kids paint the edges of the snowflakes with metallic blue or purple paint for a “northern lights” look.
Ornament Idea #3 – Salt Dough Handprints
Nothing says “holiday memory” like a tiny handprint captured in a keepsake ornament.
- Make the Dough: Mix 2 cups flour, 1 cup salt, and 1 cup water until smooth. Add a few drops of food‑coloring if you want a tinted dough.
- Press Handprints: Have each child press their hand gently into the dough, then use a cookie cutter (star or circle) to cut around the imprint.
- Bake: Place on a baking sheet and bake at 250°F (120°C) for 2‑3 hours, or until hard.
- Paint & Seal: Once cooled, paint the ornaments with acrylics. Finish with a clear sealant for durability.
- Hang: Thread a ribbon through a small hole punched at the top.
Safety Note: Adult supervision is required for mixing, cutting, and baking.
Ornament Idea #4 – Recycled Cardboard Star Mobile
Turn old cardboard boxes into a dazzling star mobile that can hang over the mantel or in a kid’s bedroom.
- Cut Star Shapes: Trace a simple 5‑point star onto cardboard and cut out 10‑12 pieces.
- Paint & Glitter: Let the kids paint each star with bright colors. Once dry, add a dusting of glitter or stick on sequins.
- String Together: Using a thin wooden dowel or sturdy stick as the base, thread a length of yarn through the top of each star, spacing them evenly.
- Balance the Mobile: Tie the yarn ends together at the center of the dowel, then attach a longer loop of ribbon at the top for hanging.
Eco‑Friendly Tip: Use leftover gift wrap or newspaper for extra color without buying new paper.
Ornament Idea #5 – Edible Gingerbread Ornaments
For a tasty twist, let the kids help bake and decorate mini gingerbread shapes that can be hung and later enjoyed.
- Roll Dough: Roll out pre‑made gingerbread dough to ¼‑inch thickness. Use cookie cutters shaped like trees, bells, or hearts.
- Make a Hole: Before baking, use a small round cutter (about ¼‑inch) to punch a hole at the top of each piece.
- Bake: Follow the package instructions; usually 8‑10 minutes.
- Decorate: While still warm, brush on a thin layer of royal icing to act as “glue” for sprinkles, mini‑marshmallows, or colored sugar.
- Hang & Eat: Thread a piece of string through the hole. When the holidays are over, the whole family can snack on the ornaments together.
Allergy Alert: Substitute gluten‑free dough if needed, and keep nuts separate for children with allergies.
Ornament Idea #6 – Nature Collage Ornaments in Clear Baubles
Clear plastic or glass baubles become tiny museums of forest finds.
- Gather Natural Treasures: Take a short walk outside and collect small pine needles, berries, tiny pinecones, and bits of bark.
- Prep the Baubles: Remove the top of a clear ornament (the metal cap). If it’s a glass ball, be careful with edges.
- Arrange Inside: Let the kids layer the natural items inside, creating a miniature winter scene.
- Seal & Hang: Replace the cap and tie a ribbon around the top for hanging.
Learning Moment: Talk about the different trees and plants you collected, turning the craft into a mini‑nature lesson.
Tips for Keeping Craft Time Smooth and Stress‑Free
- Set a Time Limit: Kids thrive on structure. A 30‑minute session keeps excitement high without fatigue.
- Use Disposable Aprons: A cheap paper apron protects clothes and makes cleanup a breeze.
- Create a “Clean‑Up Song”: Sing a short tune while everyone puts supplies back. It turns tidying into part of the fun.
- Display the Results: Designate a “Family Ornament Tree” where each child’s creations are showcased. Seeing their work on the tree boosts confidence and pride.
- Take Photos: Capture the messy, giggly moments. They make wonderful holiday cards or a memory book later.
Involving the Whole Family – From Little Hands to Grandparents
Crafting isn’t just for kids. Invite grandparents, cousins, or even a friendly neighbor to join in. Older participants can handle the tougher steps—cutting sturdy cardboard, using a hot glue gun, or baking—while younger children focus on decorating.
Family Collaboration Idea: Assign each generation a “role.” Grandparents can share a favorite holiday story while the kids create the ornament, then attach a tiny tag with the story’s title. The result is a multi‑generational keepsake that tells a story as well as shines on the tree.
Wrapping Up the Holiday Craft Adventure
When the last glittery pinecone is hung and the final gingerbread ornament is devoured, you’ll have more than a beautifully decorated tree—you’ll have a treasure trove of shared laughter, creativity, and memories that last far beyond the season. Remember, the goal isn’t perfection; it’s the joy of creating together. So roll up your sleeves, turn on some festive music, and let the holiday spirit flow through every cut, glue‑dot, and sprinkle.
Happy crafting, and may your home sparkle with love, laughter, and the proud glow of handmade ornaments!
Tags:
#Christmas Crafts#Family Activities#DIY DecorationsIf you liked this, you might also like

How to Decorate Your Home in a Northern Winter Christmas Style
Create a cozy, snowy, northern winter Christmas atmosphere with simple decoration ideas inspired by ...

Christmas Activities to Enjoy on Rainy Days
Fun and cozy Christmas-themed activities perfect for keeping kids entertained indoors during rainy d...
The Perfect Christmas Family Afternoon Plan
A cozy, simple, and heartwarming step-by-step plan to enjoy a magical Christmas afternoon with your ...
Christmas Message Ideas for Cards and Holiday Greetings
Find heartfelt, fun, and festive Christmas messages to include in your cards, gifts, emails, and hol...

Ready to write your letter to Santa?
Create a magical, personalized letter in minutes. It's free!